I recently ran into a problem while updating an old project to LabVIEW 2020. This project uses LabVIEW’s Report Generation Toolkit to format text for printing to a docket printer – but the Standard Report option was deprecated in LabVIEW 2018 so some changes were required to restore the original functionality
The only option for creating a report that doesn’t use Microsoft Office is the HTML report. This uses Internet Explorer to format and print the report. The first obvious difference from the Standard Report is that font size behaves entirely differently. Instead of specifying a point size, the font size is relative, so my default font size of 12 was enormous.
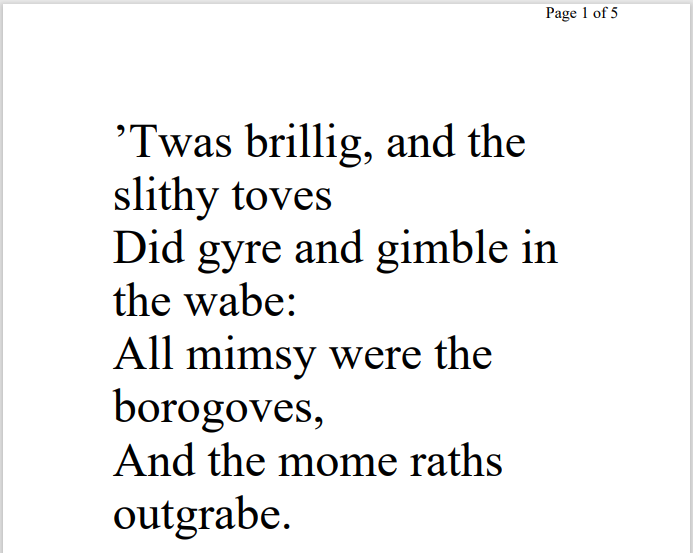
Printing with Font Size = 12
This was easily sorted out by changing the font size to ‘1’ once I worked out what was going on
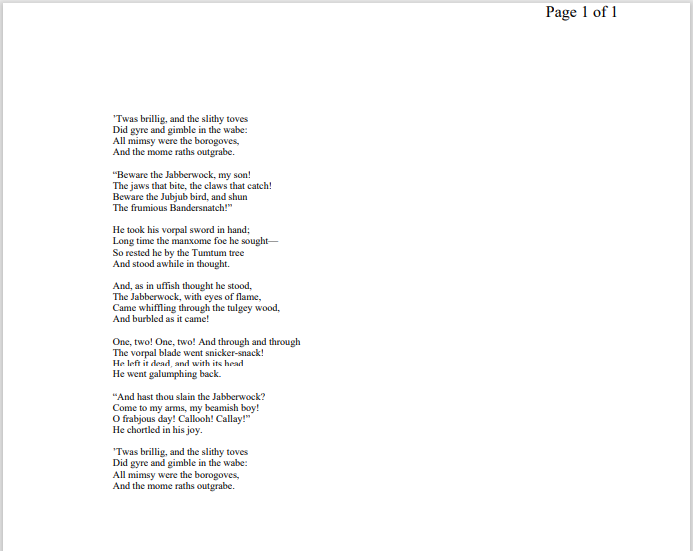
Printing with Font Size = 1
Unfortunately there is a fixed header (Page N of M) and footer (Filename and Date) that I can’t get rid of – this seems to be added by IE rather than the Report Generation Toolkit itself1


Fixed Header and Footer Text
The biggest problem though was that it refused to print anything shorter than a full A4 page length. Docket printers use a continuous roll of paper rather than individual sheets, so making every docket a fixed length was going to waste a lot of paper
Collectively, these issues were show-stoppers for my application’s LabVIEW upgrade
It was time to look for some alternatives to the Report Generation Toolkit
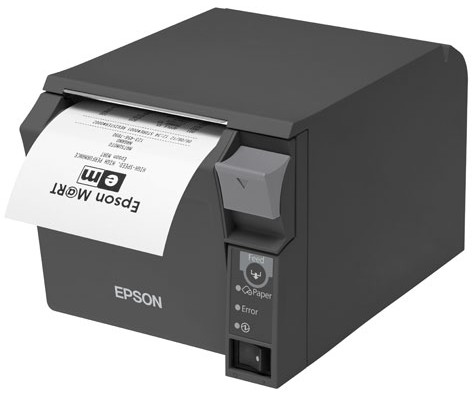
Docket Printer
Printing using the Windows Shell
One solution that works well for printing plain text to a printer is to use the Windows Shell, as explained in this knowledge base article on NI.com
This works by opening the file you want to print in the default application for its file extension and sending it a print command – so you need to first create a file to print, or modify an existing template file. How well this works depends on what sort of file you are working with
Plain text files (.txt) are opened in Notepad. You can adjust the margins by setting them in Notepad’s Page Setup dialog. The last Font settings will be used whenever you print using the Windows Shell. It will also use Window’s default printer, there’s no way to specify a different one
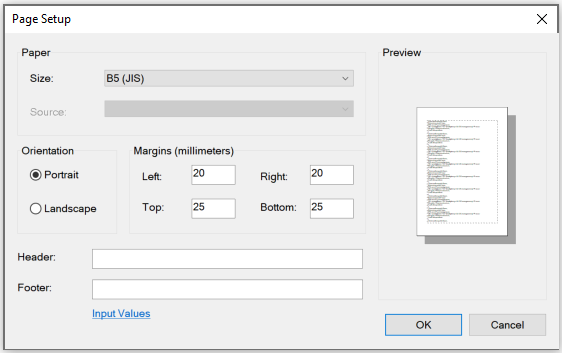
Page Setup Dialog
This is ok if you can be sure that no-one is going to fiddle with the settings – on a locked-down production PC that may be fine, but if there’s any chance that someone could change the Page Setup or Font settings, then it’s probably not going to be a reliable approach
Using LabVIEW’s Built-In ‘Print with Execution’ Feature
LabVIEW has the ability to print a VI’s front panel automatically after it finishes executing. By setting up the appropriate indicators, just about any combination of text, graphs and other graphics can be printed
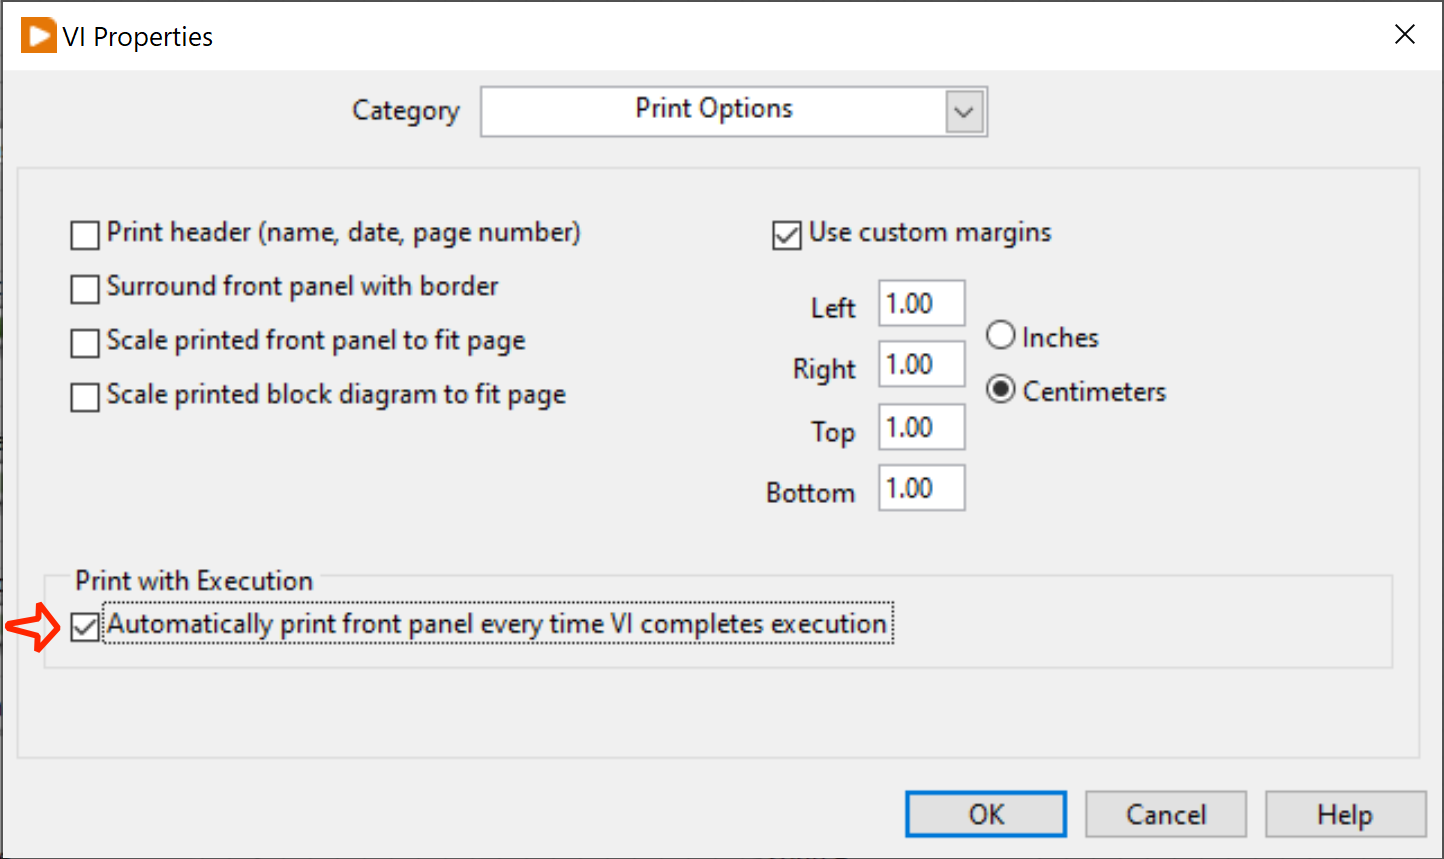
VI Properties Dialog
For my simple text docket, all I needed was a single Text indicator. I chose the Simple String from the Classic palette, as this has only a single pixel outline which can easily be hidden by choosing an appropriate foreground colour
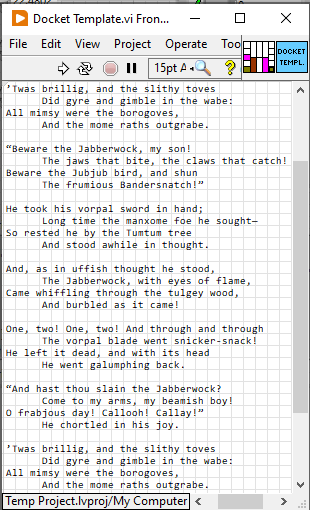
Docket Template Front Panel
This is all that’s required for a fixed-size report, but for my application, the report text can be of varying length.
It turns out that setting a text control to scale automatically to fit the size of its contents is not as simple as I had hoped – the Size to Text property will adjust the vertical size, but not the horizontal. Luckily some other smarter people had already solved this problem by using Get Text Rect from the picture toolkit to determine the rendered size of a text control
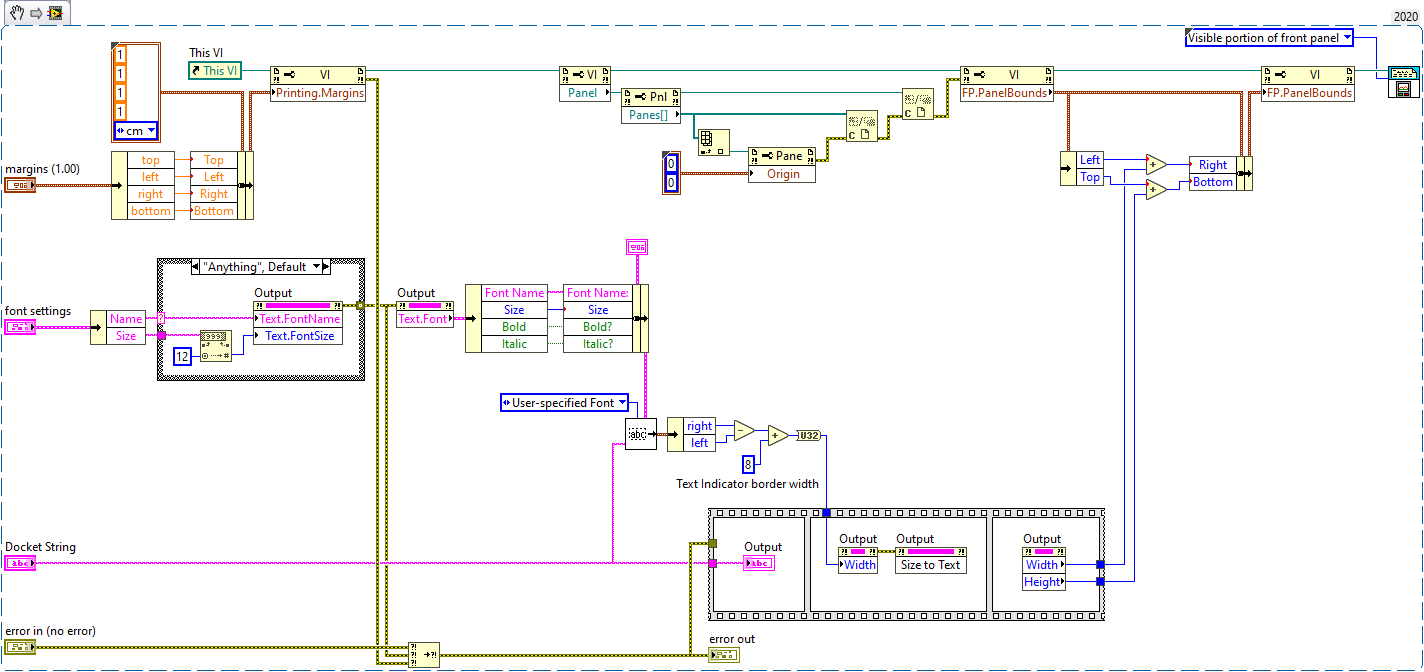
Docket Template Block Diagram
So now I have a VI that I can pass an arbitrary string to and have it print just that to a docket printer – job done!
- It turns out you can remove these, check out this post for details
